Embossing is a popular finishing choice for adding a custom texture to notebook covers. Combined with different cover materials, it can completely transform the notebook’s appearance and tactile feel. When used correctly, embossing brings a sense of refined elegance and highlights a brand’s attention to quality and detail. However, it is not suitable for every material. Many modern notebooks also feature custom textures to create unique visual styles. These can look stunning, but they often come with a higher cost and require careful budget planning. To help you avoid unnecessary trial-and-error during production, here are the key points to consider when adding embossing to a custom notebook cover.
Use Embossing on Smooth Notebook Surfaces
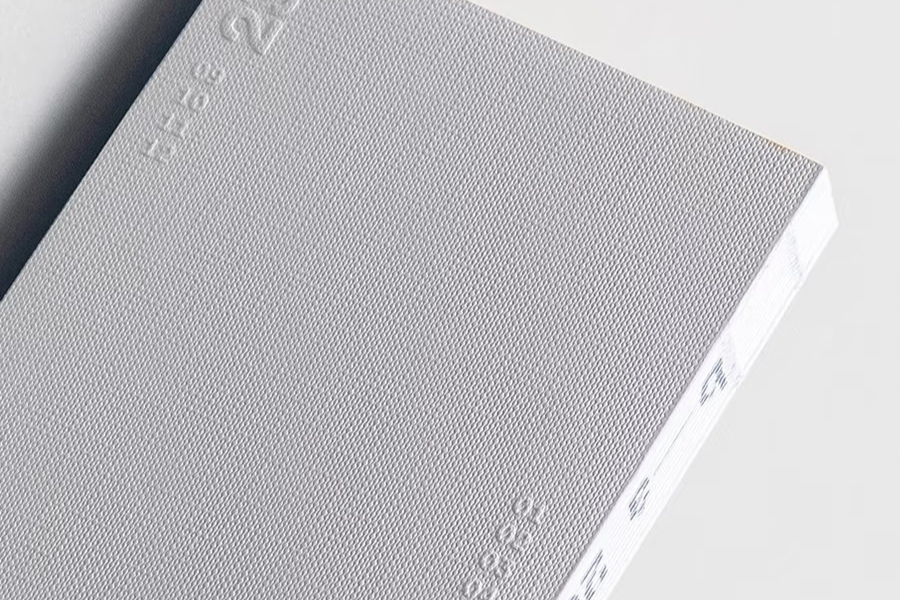
At its core, embossing is the process of pressing a patterned metal die onto the notebook’s surface with high pressure to create a raised design. While embossing can be done on textured materials, it performs best and looks most refined on smooth surfaces. On a flat cover, the die presses cleanly and evenly into the material, producing a crisp, sharp impression with smooth edges. In contrast, textured or rough surfaces can cause uneven depth, blurred outlines, or even a loss of fine details. The natural grain of the material may also compete visually with the embossed texture, reducing clarity.
That said, there are creative exceptions. If your notebook design embraces a raw, handcrafted aesthetic, applying embossing on a textured surface can actually enhance that rugged charm—the imperfections themselves become part of the design story.
Choose the Right Notebook Cover Material Thickness
When planning embossing, the thickness of the notebook cover plays a crucial role. The process is essentially about creating a balanced system that finds the perfect relationship between the die depth, the pressure applied, and the material’s thickness and structure. Embossing is meant to create a permanent surface deformation, but it should not crack, tear, or punch through the material. To avoid these issues, the thickness and durability of the cover material must be carefully evaluated.
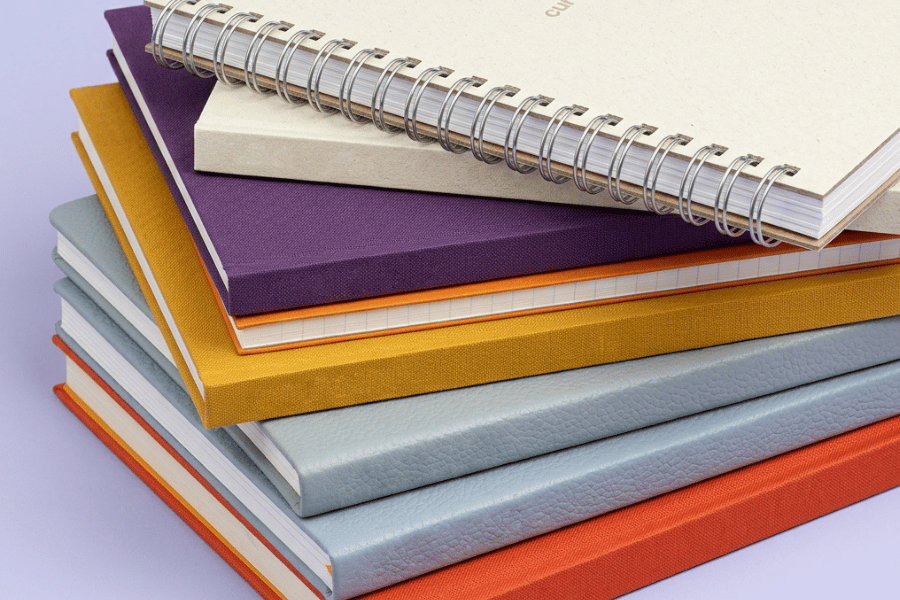
In general, softcover or thin paperback notebooks are not ideal for embossing because their cover materials are too light to hold a stable impression. Hardcover notebooks, linen covers, and leather surfaces, on the other hand, can accommodate embossing well. But even with these materials, pressure must be controlled. Too shallow, and the embossing lacks dimension; too deep, and the material may break. Hardcover and leather covers can handle fine, intricate patterns. Fabric covers, especially linen or canvas textures, work better with bold, simplified designs that complement their naturally rougher surface.
Mind the Order of Embossing Finishing Processes
Embossing can be combined with other common finishing techniques such as foil stamping, spot UV, or 3D relief. It creates richer and more dimensional notebook cover designs. However, the combination you choose, and even the order in which these processes are applied, can significantly affect the final visual and tactile outcome.
| Desired Effect | Process Order | Precaution |
|---|---|---|
| Ultimate precision and luxury | Printing → Embossing → Foil Stamping | Ensures rich color first, then creates a raised base, and finally allows the foil to adhere perfectly to the embossed surface for the best light and dimensional effect. |
| Vintage, distressed look | Printing → Foil Stamping → Embossing | The embossing step intentionally disrupts the foil layer, creating unique retro cracks and worn textures. |
| Modern high-gloss finish | Printing → UV Coating → Embossing | Embossing on a hard, glossy UV surface produces sharp highlights and strong visual contrast. (Requires attention to UV hardness and flexibility.) |
| Protection + crystal-clear appearance | Printing → Embossing → UV Coating | The UV coating fills and seals the raised areas, creating a smooth protective layer with an ice-carved, translucent effect. |
| Maximum multi-level depth | Printing → Debossing/3D Relief → Embossing | The relief builds the primary structure first, followed by embossing to add background textures and create a two-layer dimensional effect. |
Pay Attention to Custom Embossing Texture Details and Costs
Custom texture embossing is often used in high-end notebooks that require large, fully textured surfaces. Because custom embossing plates are produced only once and cannot be reused for other designs, the cost is usually quite high, especially when the pattern is intricate or covers a wide area. For detailed designs, the choice of cover material becomes even more critical, as certain surfaces may not capture fine textures well. Additionally, the embossing direction must align with the paper’s grain direction to prevent distortion and maintain a clean visual effect. When designing the texture, avoid placing delicate text, thin lines, or small graphics too close to the embossed area. It’s also important to consider potential “dead zones” where the pressure may not transfer evenly.
The Difference Between Embossing and Debossing
Embossing and debossing are both commonly used finishing techniques on notebook covers. Although they share the same basic principle, they use physical pressure to reshape the paper and create visual and tactile contrast. Their purposes are quite different.
Embossing is typically used to form a continuous, repeating texture across a larger area. It creates a subtle, refined background feel with a smooth and consistent tactile experience. You notice its sophistication the moment you touch the surface. Debossing, by contrast, is designed to highlight a single, distinct graphic element by pressing it into the surface. It delivers a stronger visual contrast and concentrates attention on the recessed design, making it stand out at first glance.
Always Test Before Mass Production
Embossing may seem like a simple decorative step, but when used thoughtfully, it becomes a powerful design language. Paper, pressure, and temperature variations can produce very different results. A short test run helps confirm the desired depth and sharpness before committing to a full batch. It’s a small step that saves time, cost, and potential disappointment later.
Whether you’re aiming for luxury, bold personality, or subtle sophistication, mastering these details ensures that your notebook not only looks beautiful but also carries a tactile story worth remembering. With the right craftsmanship and planning, embossing can elevate even the simplest cover into a signature piece of design.